

-
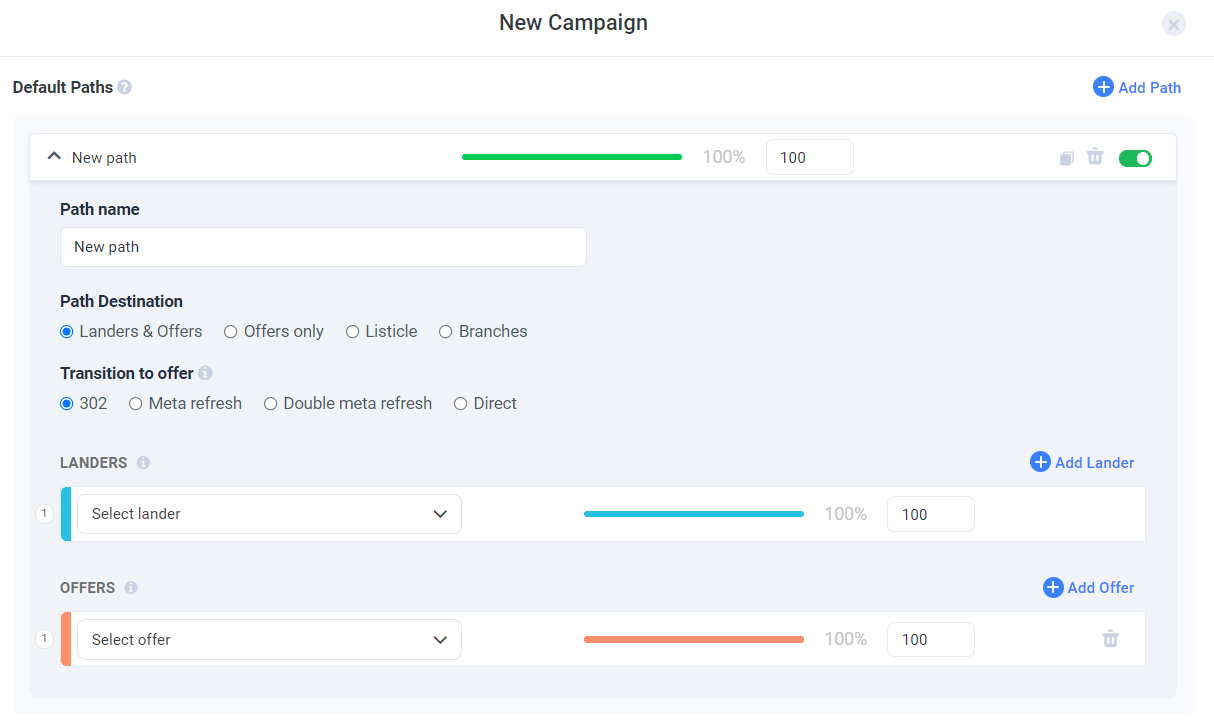
Begin by giving your path a new name.
Note: Each time you add a default path, its name will be automatically set as “New Path”. Make sure to customize it in order to be able to reuse it when needed.
-
Designate its Path Destination among 4 options:
- Landers & Offers
- Offers only
- Listicle
- Advanced Flow
Note: Listicle allows you to create a more layered path for your visitors, extending the standard campaign funnel by adding an additional step with a lander. A visitor will first see a pre-lander that has links to subsequent landers, each of them containing links to different offers.
- Proceed to selecting your Transition to offer.
-
Based on the path destination option you’ve chosen, add in other elements such as the path’s lander and offers.
Note: The traffic distribution is governed by a weight value. The proportion of weight values is reflected in a percentage of traffic distribution. This percentage always sums up to 100%.