

⚠️ Both tracking methods are required. Without in-page tracking, no conversions are captured. Without the API integration, conversions won’t have revenue data. Make sure to complete both parts of the guide for accurate and complete tracking.
Prerequisites:
To complete this integration, you’ll need:- An active Google AdSense account with RSOC (Related Search for Content) enabled
- An active ClickFlare account
Part I: In-Page Conversion Tracking Setup
If you’re starting from scratch, follow this section to track RSOC conversions accurately using ClickFlare’s recommended method.👉 Already have your own tracking setup? Jump to the Own Tracking Setup section →
Step 1: Set Up Your Offer Page
Your RSOC article page (where the keyword block appears) should be created as an Offer in ClickFlare.✅ Required parameters: style_id, channel_id, clickid={cf_click_id} These are essential for tracking and revenue attribution. Make sure to always pass them in your Offer URLYou can include additional UTM parameters or pass the keyword value (q) if needed.
Step 2: Pass Parameters to the SERP Page
When a user clicks on any of the keywords shown in the keyword block, inside the content/article page, they are redirected to a second page where the Google search results appear (SERP). You must ensure that the following parameters are passed to the second page’s URL:- channel_id
- style_id
- clickid
⚠️ Failing to include these will prevent ClickFlare from tracking conversions or assigning revenue.
These parameters are usually passed via Google’s RSOC script snippet—ensure your setup is configured to include them.
Step 3: Add the ClickFlare Script to the SERP Page
Paste the following script into the second page (SERP) to capture conversions:Important Note: Make sure to replace the “REPLACE_WITH_YOUR_TRACKING_DOMAIN” part in the script with your own ClickFlare tracking domain
What This Script Does
- Detects when a user clicks on a result inside the Google iframe (monetized event)
- Sends the conversion to ClickFlare using an image pixel
- Fires the clicked keyword back to ClickFlare
- Includes click_id, channel_id, and style_id for revenue matching
📌 Special Case: Running RSOC with Google Ads (Direct Tracking Setup)
Google Ads does not allow redirects, so you’ll need to slightly modify the tracking setup by using ClickFlare’s direct tracking script.✅ The rest of the setup (Offer URL, SERP pixel script, AdSense API integration) remains exactly the same.
What You Need to Do
Instead of sending traffic through a ClickFlare campaign redirect link, you must:- Send Google Ads traffic directly to your article page
- Inject the ClickFlare Direct Tracking Script on that first page
cf_click_id In a cookie, allowing the SERP page to retrieve and use it when firing the postback.
Where to Find the Direct Tracking Script in ClickFlare
You don’t need to write or copy any script manually — ClickFlare will generate it for you automatically. To get it:- Create a Direct Tracking Campaign (Follow this guide to learn how to create one.)
-
In the final step, under the Tracking tab, you will see:
- Your Offer Tracking URL (to be used as the destination in Google Ads)
- Your Offer Tracking Script
- Copy the Offer Tracking Script and paste it into the <head> section of your article page (the first page the user lands on)
cf_click_id.
When to Use This
- ✅ Use this setup only when running Google Ads (Search, Display, Discovery, etc.)
- ❌ For all other sources (e.g., Facebook, TikTok, Taboola), use the default redirect setup described in Part I
Part II: Connect Google AdSense API Integration
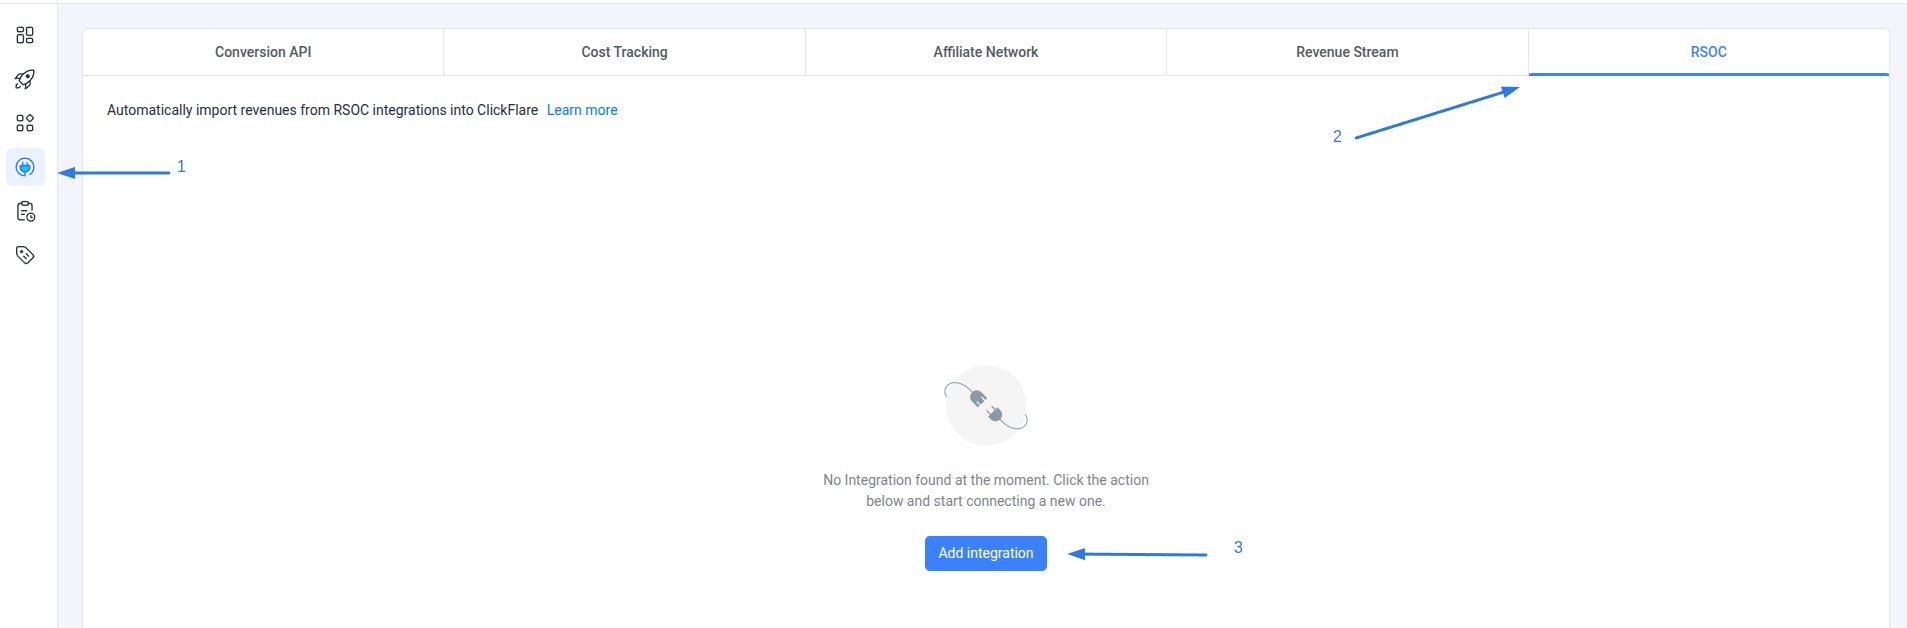
ClickFlare connects directly with the Google AdSense API to pull revenue for each conversion every hour for up to 3 days. A final sync occurs after 10 days to ensure all delayed updates are retrieved.Step 1: Go to Integrations
- Go to the Left Sidebar
- Under RSOC, click Add Integration
Step 2: Authorize Google Account
-
Choose the Google AdSense template
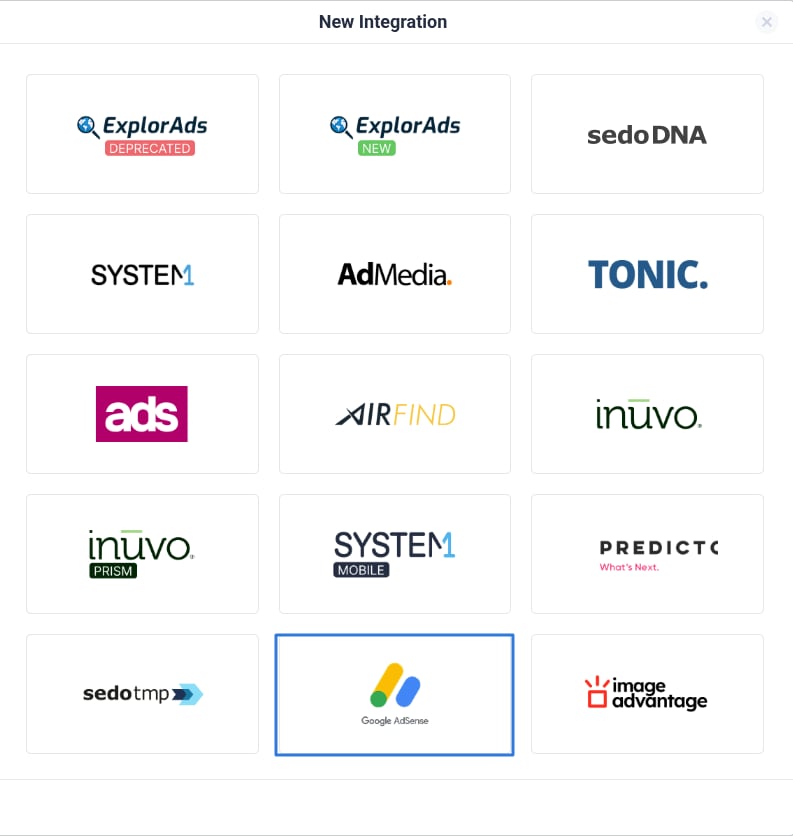
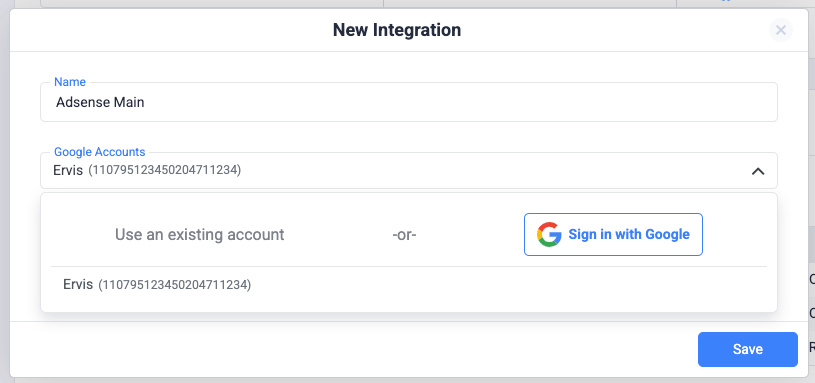
- Give the integration a Name
- Click Select Google Account and sign in with your AdSense account
-
Grant access when prompted
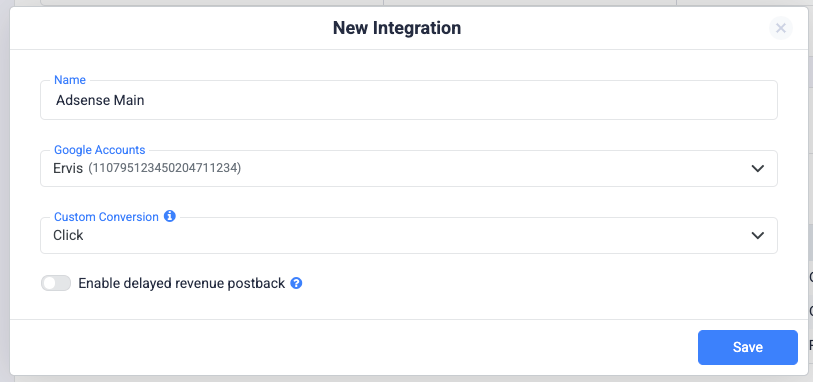
Step 3: Choose a Custom Conversion Event
- Select “Click” as the conversion event to link revenue to the click tracked from the script above
🧠 Don’t have a custom conversion yet? Follow our Custom Conversion Guide to create one.
Step 4: Save the Integration
- Click Save
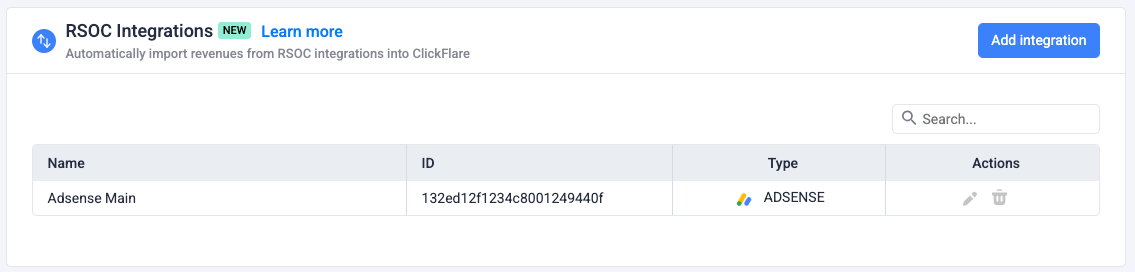
- Your Google AdSense integration will now appear in the RSOC Integrations list
Own Tracking Setup
If you’re not using ClickFlare’s in-page script and instead rely on your own tracking, here’s how to ensure revenue can still be pulled via API.What You Need to Do
You must fire the monetized event (click on the SERP page) to ClickFlare by calling our postback with the correct parameters.✅ Required Parameters:Postback Format:
- click_id — ClickFlare’s unique click ID
- param10 — Google channel ID
- param11 — Google style ID
- ct=click — Conversion type (required)
⚠️ If any of the required parameters are missing or incorrect, revenue will not be attributed to the conversion.
Info: This method is helpful if you’re firing conversions from a backend system or your own tracking script.
Q1: What happens if I don’t pass channel_id or style_id?A1: ClickFlare won’t be able to match conversions to AdSense revenue—your reports will show $0.
Q2: Can I use this for AFD (AdSense for Domains)?A2: No, this integration is only for RSOC (Related Search for Content). AFD tracking uses a different setup.
Q3: How often is revenue updated?A3: Hourly pulls for 3 days after the conversion, plus a final sync after 10 days.
Q4: Can I track multiple RSOC styles in one campaign?A4: Yes, as long as you include the correct style_id and channel_id values per conversion.