

- An active ClickFlare Account
- An active Snapchat Ads Account
- Snapchat Login Credentials
Begin the Process by:
- Entering the Settings Menu (gear icon in the upper right corner) inside ClickFlare.
-
Moving to the Integrations Menu on the left side of the screen.
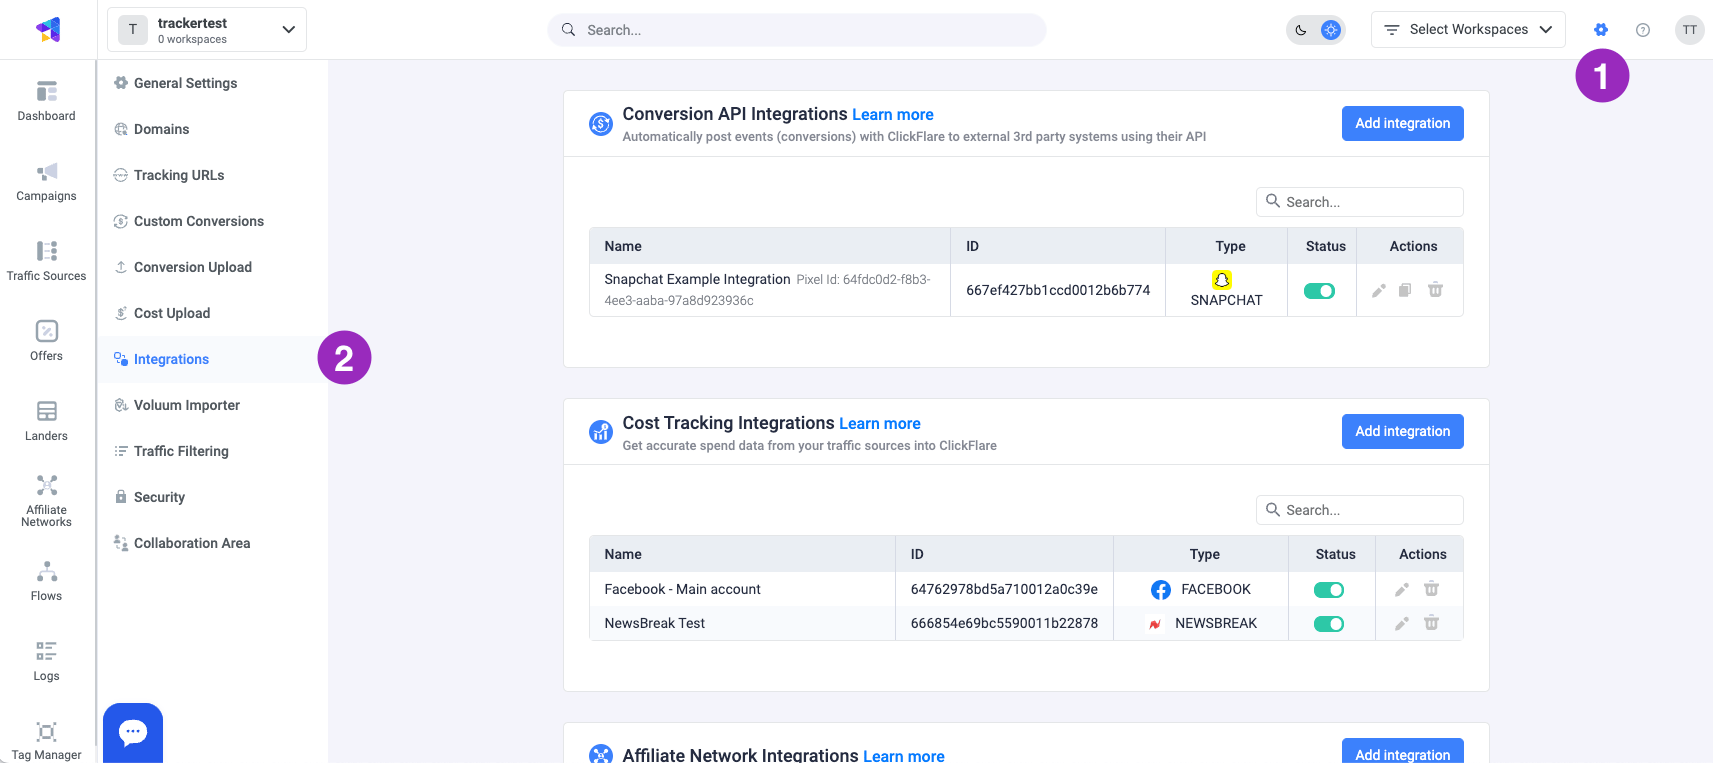
In the Cost Tracking Integrations Section:
- Click on Add Integration.
-
Select the Snapchat icon from the list.
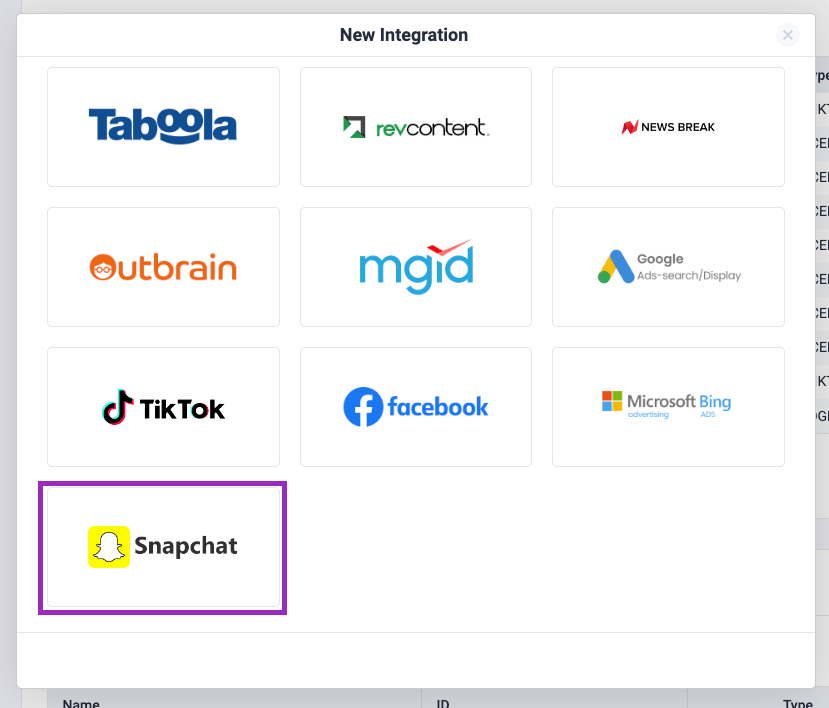
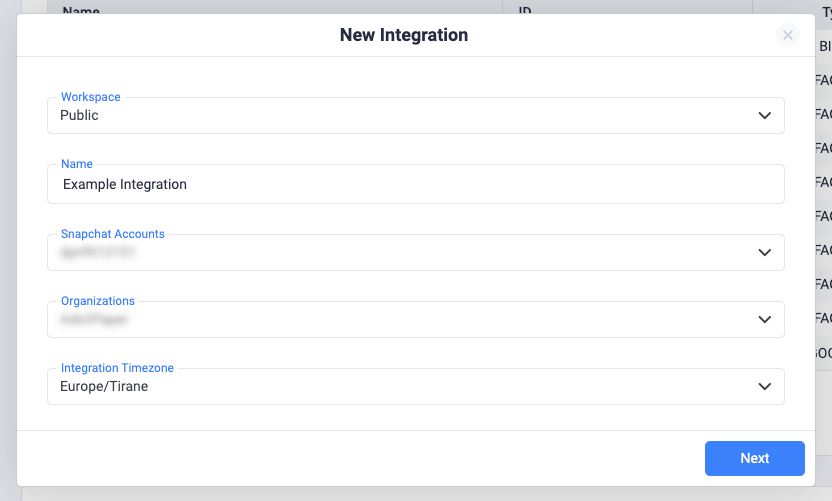
- Pick a workspace and give the integration a name.
-
From the dropdown menu, select the Snapchat account you want to connect.
A. If you already have a Snapchat account connected to ClickFlare, you should see it under “Use an existing Account”.
**
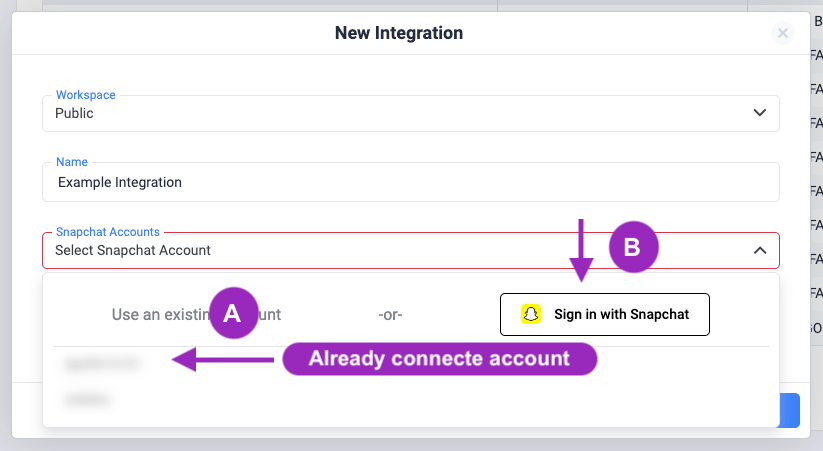 B.** If not, click on the Sign in with Snapchat button. You’ll be redirected to the Snapchat login page. Give permission to ClickFlare to access your account by clicking on Continue.
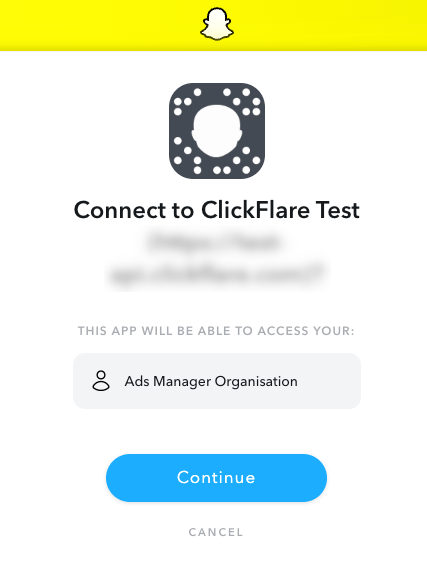
- After being redirected back to ClickFlare’s Integration window, select the newly connected account from the dropdown menu.
-
Select the organization from the dropdown menu.
-
Choose a timezone and click Next.
Note: The timezone should match the timezone of your Snapchat account.
- Choose the Ad Account(s) from which you want costs to be pulled, then click Save.
-
Select the cost integration this cost integration should be linked to.
Important: If you don’t have a traffic source created, you can skip the last step step and link the integration directly from the traffic source. Just note that you need to link a cost integration to a traffic source. Failing to do so will result in costs not being pulled.
- Finally, click on Save again**.**