


Whop Ads is still new, but the same problem that hits every ad platform on day one is already showing up here: the pixel alone doesn't catch everything. If you're running Whop Ads conversion tracking off the Whop pixel by itself, you're optimizing on a partial picture. In this guide, we'll break down how Whop Ads attribution actually works, why the pixel needs help, and how to set up the Whop Conversion API and automatic cost tracking in ClickFlare in three steps.
Quick Summary
Whop Ads conversion tracking is how Whop connects an action on your site, a lead, a signup, a sale, back to the specific campaign, ad group, and ad that drove it. Whop launched Whop Ads in May 2026 as a built-in advertising product, giving sellers on its marketplace a way to run Meta campaigns (with more ad platforms on the way) directly from the Whop dashboard.
Like every other ad platform, Whop needs to know what happened after the click. It gets that from two places: the Whop pixel, which fires from the visitor's browser, and the Whop Conversion API, which reports the same events from your server. Whop requires the pixel on any external landing page before your ad can go live, but the Conversion API is what makes the reporting accurate once traffic starts flowing. For the official reference, Whop documents the Events API directly in its developer documentation.
When someone clicks a Whop ad, Whop appends its own identifiers to the destination URL: a campaign ID (wacid), an ad group ID (wasid), and an ad ID (waid), alongside network identifiers like fbclid. Whop uses those parameters to work out which ad sent the visit.
If you strip query parameters from your landing page, or run your Whop traffic through a generic traffic source instead of a dedicated Whop one, that link breaks and spend can't be matched to campaigns. This is the same pattern behind most ad-platform attribution, and if you want the deeper mechanics, our guide on what a postback URL is covers how server-to-server matching works step by step.
The Whop pixel is mandatory groundwork, not the finish line. A few things work against it on their own:
Whop itself reports ad results based only on what its pixel attributes, so any conversion the pixel misses simply doesn't count toward your campaign's performance in Whop, even if it genuinely happened.
| Aspect | Whop Pixel | Conversion API (CAPI) |
|---|---|---|
| Where it fires | In the visitor's browser | From ClickFlare's server |
| Required for ads to go live | Yes | No, it's additive |
| Affected by ad blockers | Yes | No |
| Captures off-page conversions | No | Yes, within a 28-day window |
| Best role | Baseline, required coverage | Accuracy and recovery layer |
Whop deduplicates events that share the same event name and ID, so running both doesn't risk double counting. It's simply a matter of the pixel being mandatory and the Conversion API being the layer that makes the numbers trustworthy. If you're running traffic on more than one platform and the totals never quite line up, our breakdown of why conversions don't match across platforms explains what's usually behind it.
The whole setup comes down to three steps: get your Whop API key, connect the Conversion API, and turn on cost tracking. The same key powers both integrations, so you only do the first step once.
In Whop, open the business switcher at the top left and select the business that runs your ads, the key you create belongs to whichever business is open. Then:
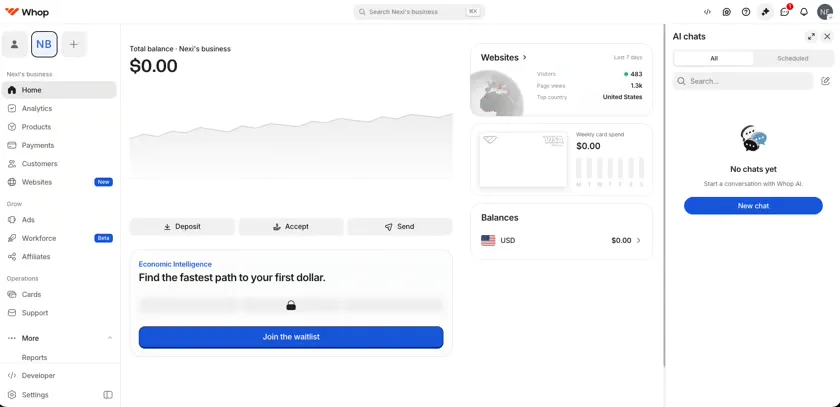
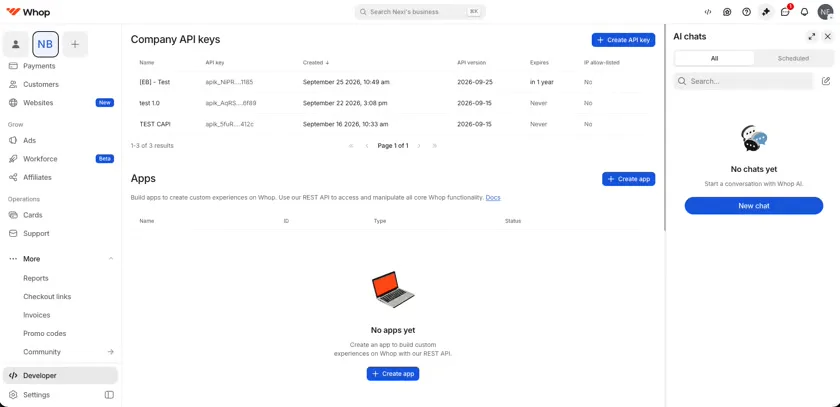
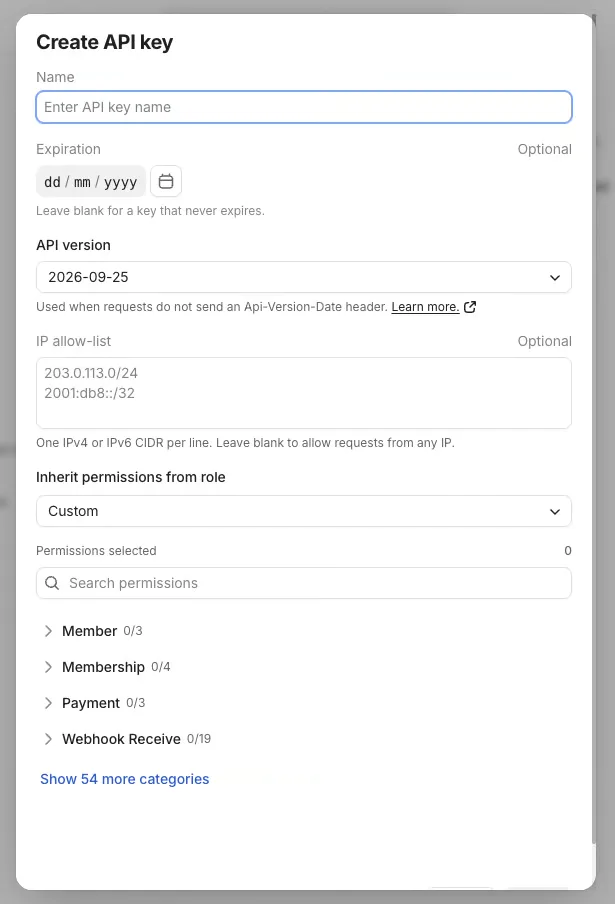
company:basic:read, event:create, and ad_campaign:basic:read.
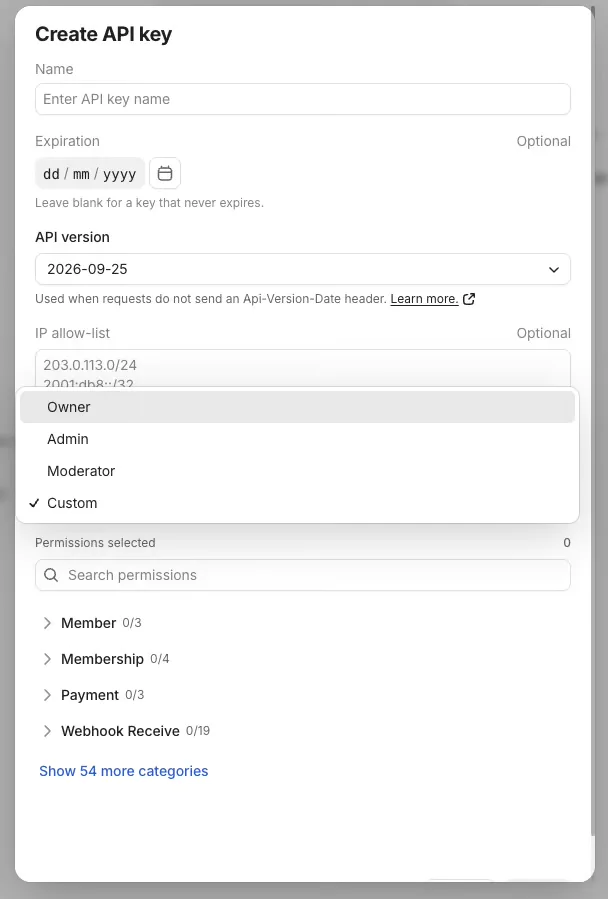
Select all three permissions even if you're only setting up one of the two integrations today. The same key covers both, so there's no reason to make a second one later.
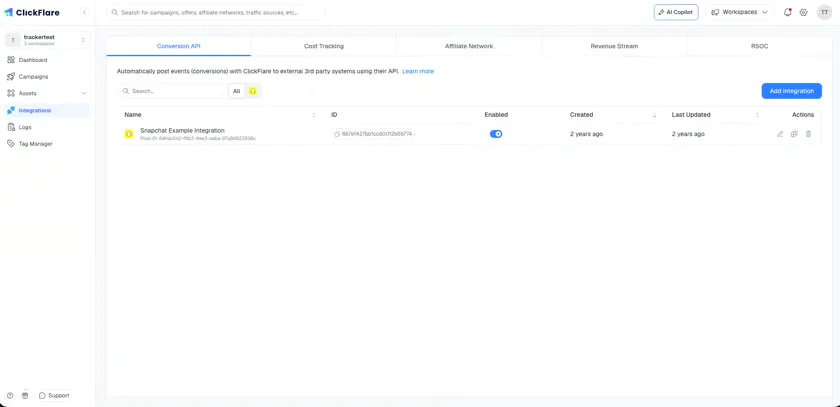
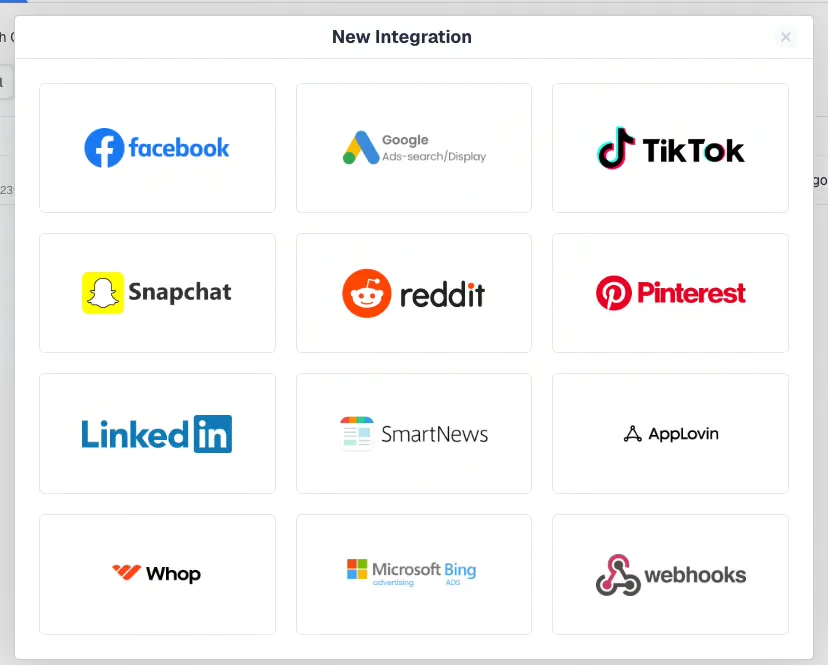
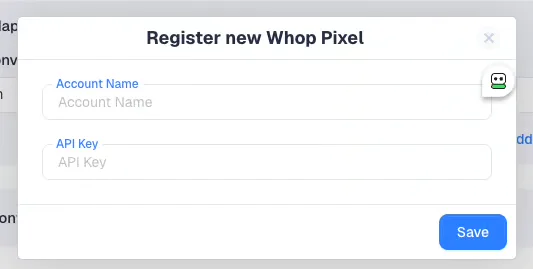
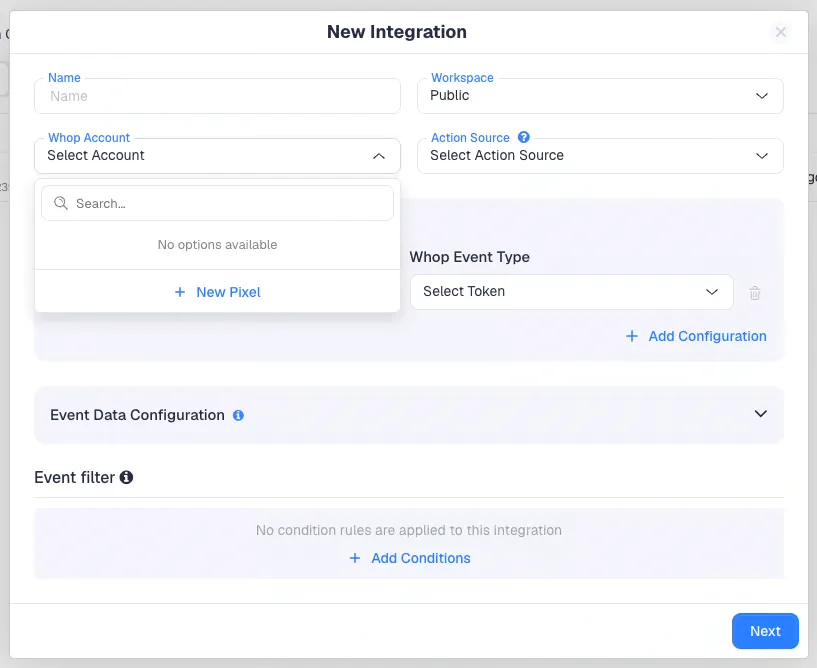 Enter an account name and paste in the API key you just created, then save.
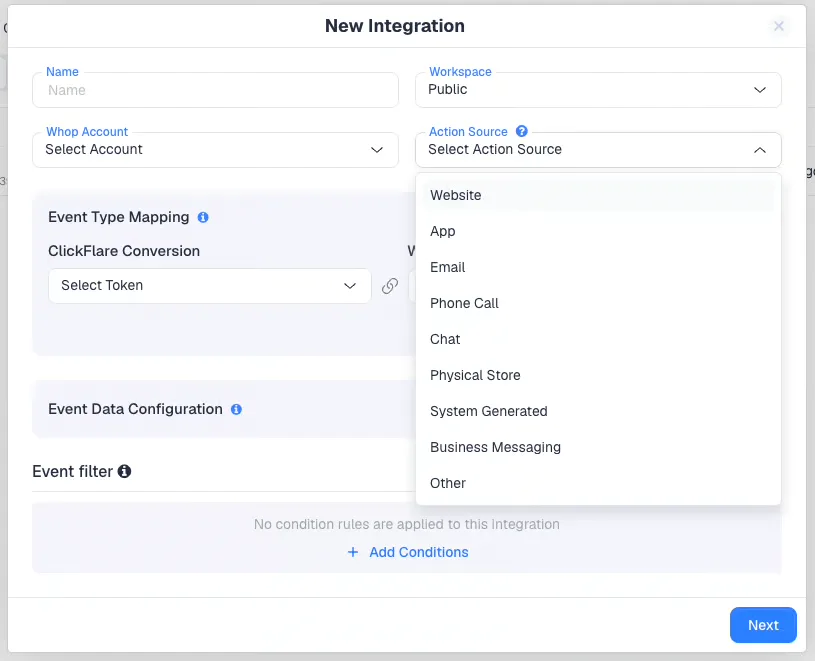
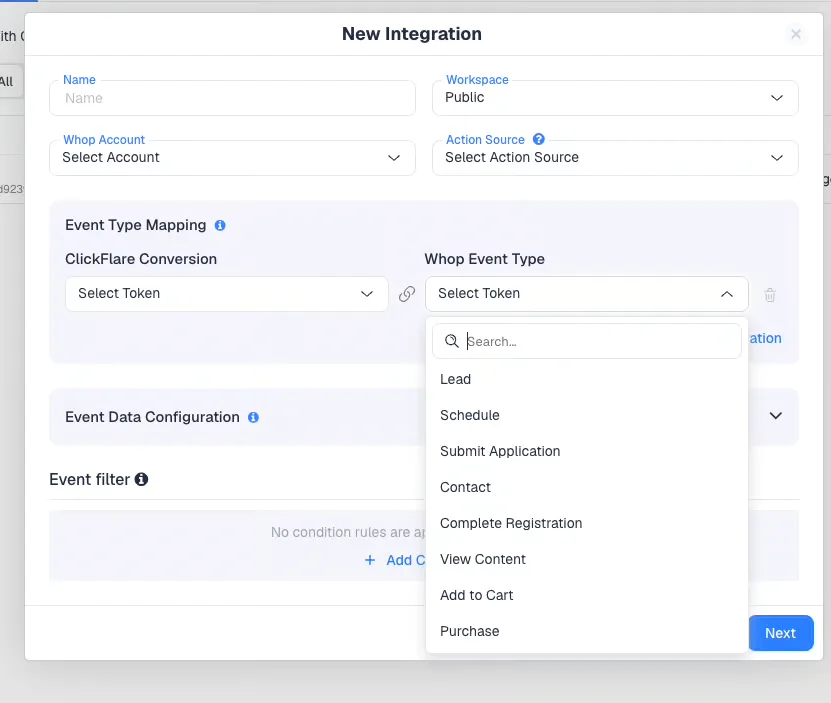
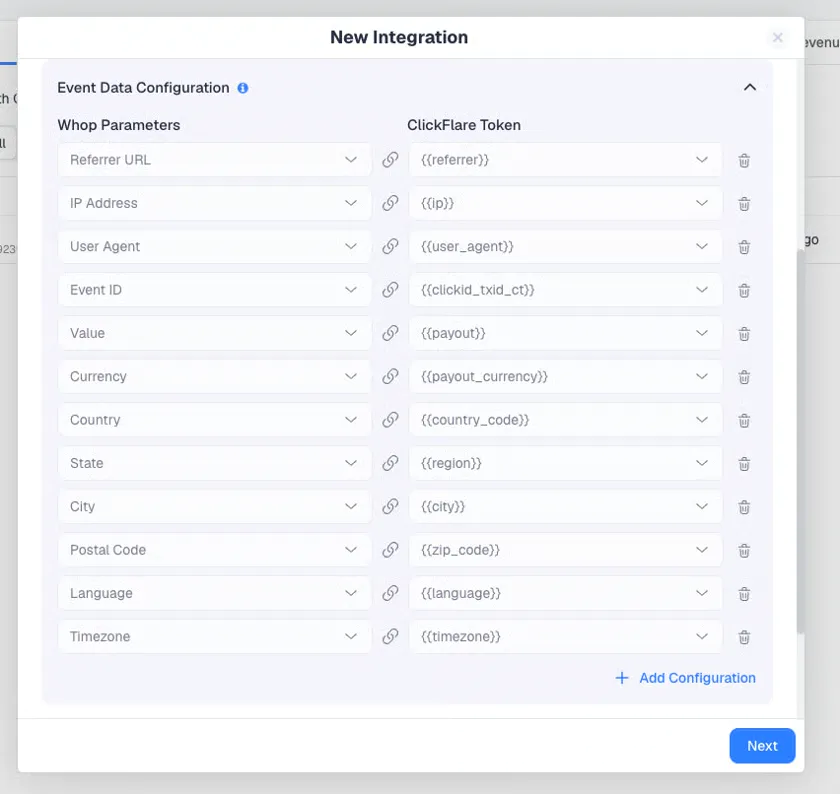
Don't map Purchase for a Whop-checkout sale. If the offer sells through Whop's own checkout, Whop already records that purchase. Mapping the same sale to the Purchase event in ClickFlare counts it twice. Only map Purchase for a sale that completes on your own checkout, and make sure that conversion carries a payout, Whop rejects a Purchase event with no value.
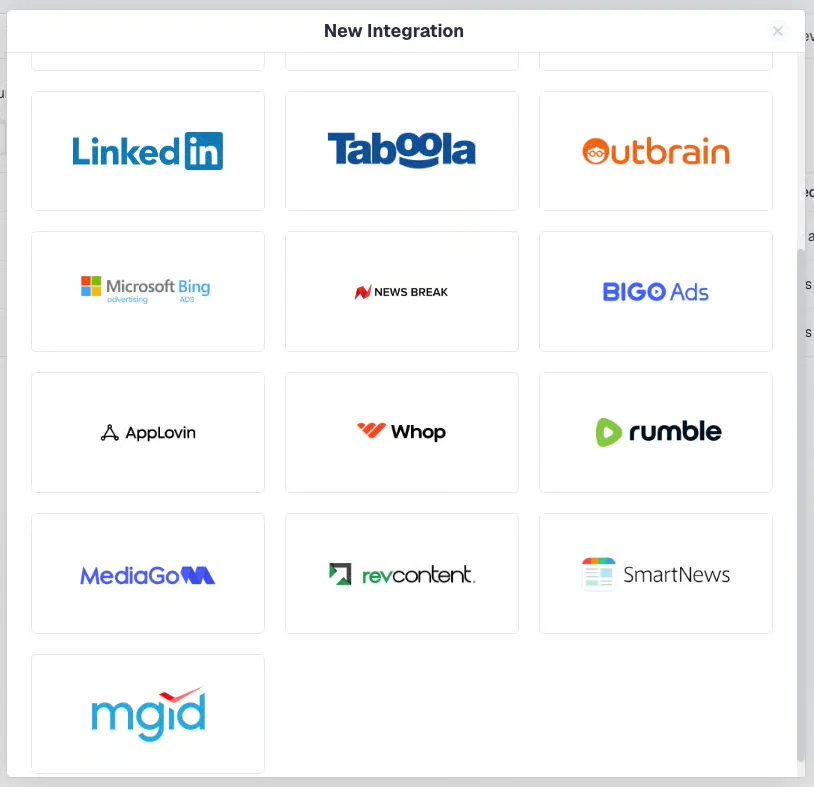
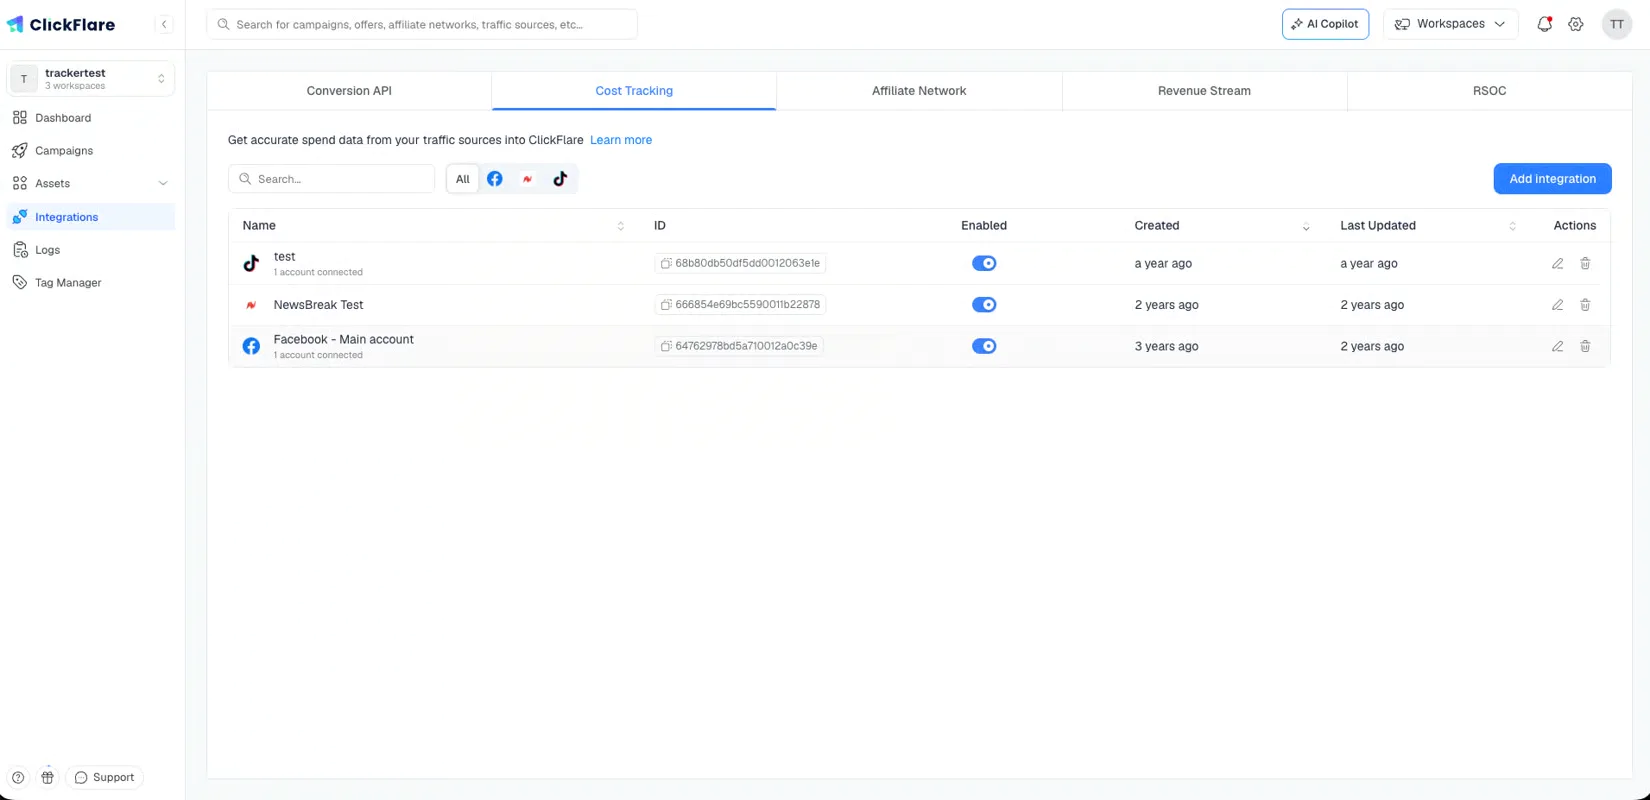 Select Whop from the list.
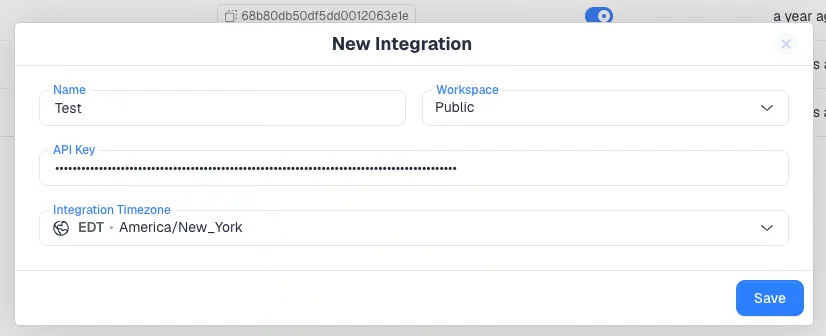
wacid, wasid, and waid parameters spend gets matched against.
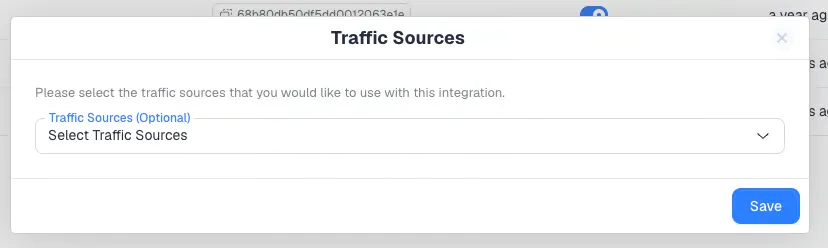
Only spend comes from Whop. CPC, CPM, CTR, and ROI are calculated inside ClickFlare from that spend combined with the clicks and conversions it already tracks. For the bigger picture on pulling cost across every network you run, our complete guide to ad spend tracking is worth a read.
wacid, wasid, and waid parameters are what let both conversions and cost get matched to the right campaign.Whop Ads conversion tracking works the same way tracking works everywhere else: the pixel is the required baseline, and the Conversion API is what keeps your numbers honest once ad blockers and off-page conversions start chipping away at what the browser alone can see. With ClickFlare handling both the Conversion API and cost tracking off a single API key, you get accurate conversions and accurate spend in the same report from day one, which matters more than usual on a platform this new, when every campaign is still your best signal for what's actually working.
Yes. Whop requires the pixel on your landing pages before an ad can go live. The Conversion API doesn't replace it, it adds the conversions the pixel misses.
Yes. One Whop company API key, with all three permissions, powers both integrations in ClickFlare.
No. Whop only accepts its eight standard event types. Map each ClickFlare conversion to whichever one is the closest match.
This is almost always a timezone mismatch. Check that the Integration Timezone in ClickFlare matches your Whop account's timezone exactly.
No. It only pulls spend. Clicks and conversions are tracked by ClickFlare itself and combined with Whop's cost for full-funnel reporting.
Need a hand with Whop Ads conversion tracking?
Try out ClickFlare for free and book a call with one of our tracking specialists who will guide you through the entire process.